You walk into your living room, look at that big empty wall, and feel it — that hollow, unfinished feeling. You know something needs to go there, but a single painting feels too small and a massive canvas feels too risky. Sound familiar?
That is exactly where a gallery wall changes everything.
A gallery wall is one of the most powerful ways to transform a blank wall into a living, breathing story — your story. It is personal, creative, budget-friendly, and right now, it is one of the most searched home decor ideas on Pinterest for a reason. Whether your style is cozy boho, sharp modern minimalist, or warm farmhouse, a gallery wall living room idea exists for you.
In this guide, you will learn exactly how to plan, design, and hang a gallery wall that looks professionally styled — even if you have never decorated a wall before.

What Is a Gallery Wall and Why Does Your Living Room Need One?
A gallery wall is a curated collection of frames, art, photos, mirrors, and wall objects arranged together on a single wall to create one cohesive visual display. Think of it as a collage — but for your wall.
Unlike a single piece of artwork, a gallery wall gives your living room depth, personality, and a focal point that draws the eye the moment someone walks in. It also solves a problem many homeowners face: a wall too large for one piece but too intimidating to fill creatively.
The best part? Gallery walls work for renters and homeowners alike. You can use removable Command strips, create a low-impact display, and take it all with you when you move.
Choose Your Gallery Wall Style First
Before you buy a single frame, decide on the overall style. This single decision will guide every other choice — frame color, art type, spacing, and layout.
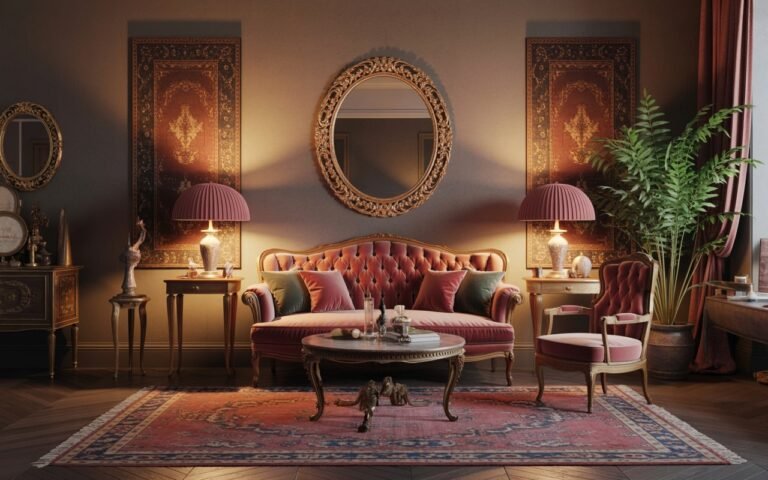
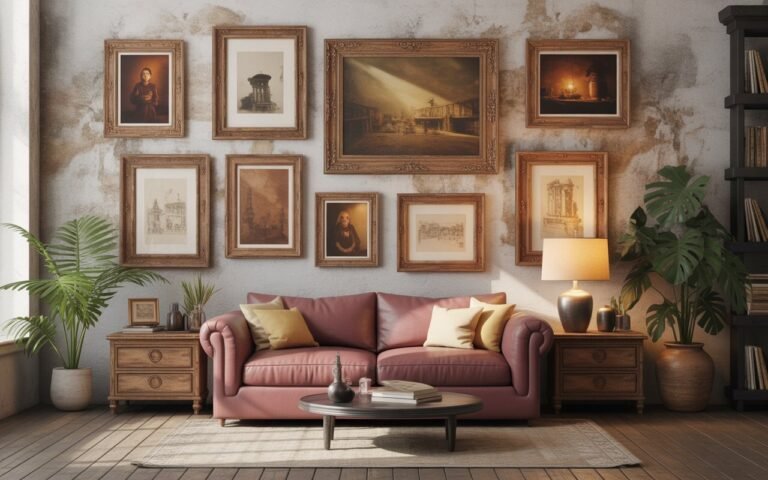
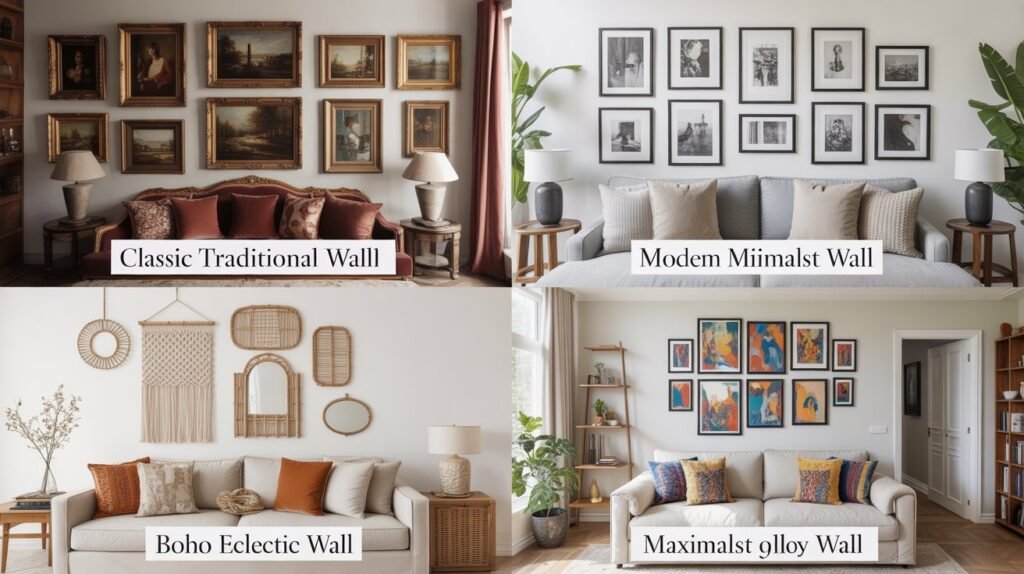
Classic Traditional Style uses matching frames, often in gold or dark wood, with a mix of family portraits and landscape paintings. It feels timeless and refined. Perfect if your living room leans toward warm neutrals and antique furniture.
Modern Minimalist Style keeps things clean. Think black or white frames, black-and-white photography, and generous space between each piece. The wall itself becomes part of the design. This works beautifully in bright, airy living rooms with neutral palettes.
Boho Eclectic Style is the most expressive. Mix woven wall hangings, macramé, pressed botanicals, vintage prints, and mismatched frames in warm earthy tones — terracotta, sage green, cream, and mustard. No rules, just vibes.
Black and White Only Style is bold and sophisticated. Every piece on the wall uses only black and white — photography, line art, typography prints. The frame color can vary, but the content stays monochrome. Stunning in both modern and transitional living rooms.
Colorful Maximalist Style celebrates pattern, color, and joy. Mix bright art prints, bold frames, and playful objects. If your living room has colorful furniture or bold wallpaper, lean into it.
How to Plan Your Gallery Wall Layout
Layout planning is where most people go wrong. They buy frames, hold them up to the wall, panic, and hang things unevenly. Do not do that.
The Grid Layout is the most structured option. All frames are the same size, hung in perfect rows and columns with equal spacing between each. It looks sharp, organized, and works well in modern or minimalist living rooms. Ideal spacing between frames is 2 to 3 inches.
The Salon Style Layout (also called salon hanging) is floor-to-ceiling, edge-to-edge, and beautifully maximalist. Frames of all sizes are layered close together. Start from the center and work outward. This style is a statement and works best on a large living room wall with high ceilings.
The Horizontal Row Layout is exactly what it sounds like — one or two rows of frames hung in a clean horizontal line. This works perfectly above a sofa, above a console table, or along a hallway wall. It feels neat without being rigid.
The Asymmetrical Layout is the most organic and designer-looking. Frames of varying sizes are arranged with intention but without symmetry. The trick is balancing visual weight — a large frame on one side needs to be counterbalanced by a cluster of smaller frames on the other.
What to Put on Your Gallery Wall
Your gallery wall does not have to be all art prints and family photos. Mix it up for a look that feels curated and personal.
Framed family photos are the heart of a personal gallery wall. Mix candid shots with portraits. Black-and-white printing makes mismatched photos look cohesive instantly.
Art prints and illustrations add color and creativity. Sites like Etsy, Society6, and Creative Market have thousands of affordable downloadable prints you can print at home or at a local shop.
Mirrors are a smart addition — they reflect light, make the room feel larger, and add dimension to the wall. One or two mirrors mixed into your gallery wall creates a dynamic, layered effect.
Woven wall hangings and macramé add texture that flat frames cannot. Even one fiber art piece in the mix makes your gallery wall feel more boho and collected over time.
Botanical prints and pressed flowers in glass frames bring the outside in. They soften the wall and add a natural, organic touch that feels fresh and timeless.
Typography and quote prints add personality. Choose a quote that means something to you — in a font and frame that matches your overall aesthetic.
Step-by-Step: How to Hang a Gallery Wall in Your Living Room
This is the section most guides skip. Let us walk through it properly.
Step 1 — Choose your wall. The wall behind or beside your sofa is the most common choice for a living room gallery wall. It is naturally the focal point. A wall adjacent to a window works beautifully too, as natural light will highlight your display.
Step 2 — Define your theme and colour palette. Pull two or three colour from your existing living room — your sofa, rug, or curtains — and use those as your guide when choosing art and frames.
Step 3 — Gather your frames and art. You do not need to buy everything new. Thrift stores are gold mines for interesting frames. Paint them the same colour for an instant cohesive look.
Step 4 — Plan your layout on the floor first. This step is non-negotiable. Lay all your frames on the floor in the arrangement you want. Photograph it. Adjust until you love it. Only then move to the wall.
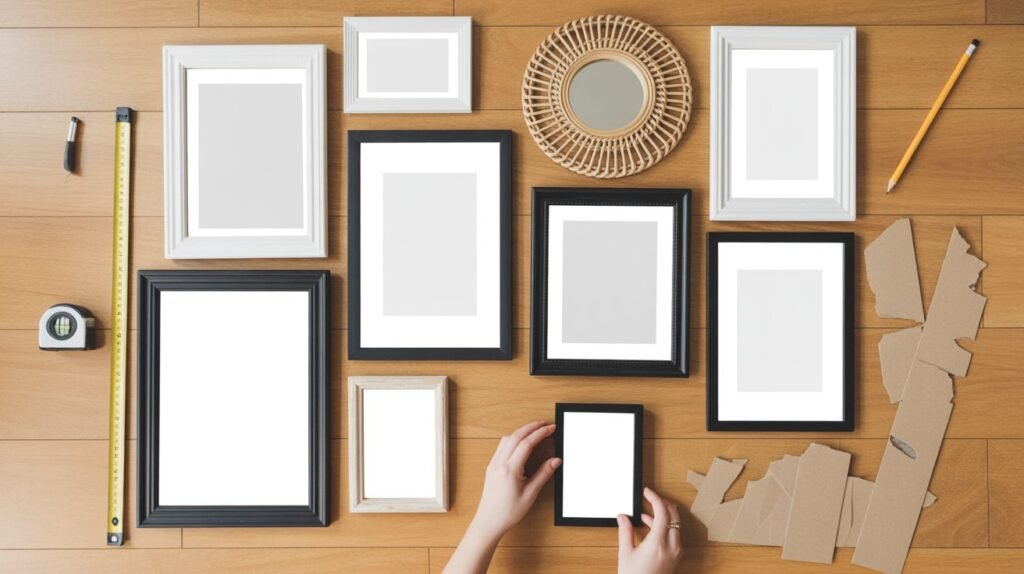
Step 5 — Create paper templates. Trace each frame onto brown craft paper and cut them out. Tape the paper templates to the wall with painter’s tape. Step back and look. Adjust the arrangement until the spacing and balance feel right.
Step 6 — Mark your nail holes through the templates. Use a level for rows. A small bubble level or even a free phone app works perfectly for this.
Step 7 — Hang everything up. Start with the largest or most central piece first, then work outward. Use Command strips on lighter frames to avoid wall damage — especially important for renters.
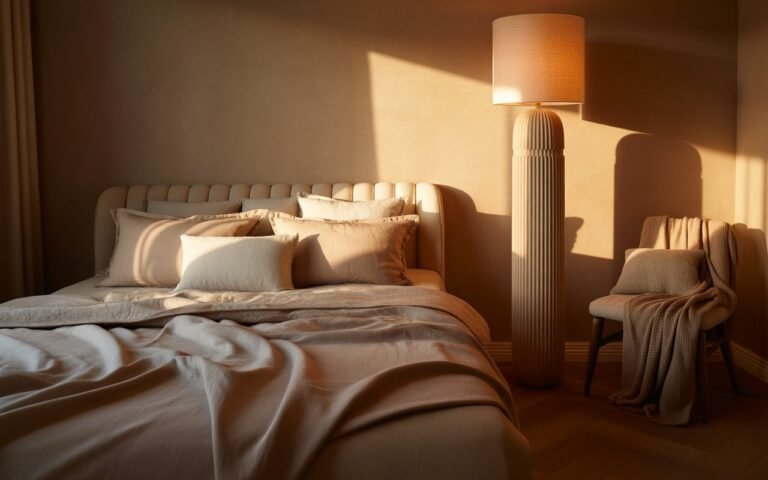
Step 8 — Style around the gallery wall. Add a floor lamp nearby, a plant, or a side table with decor. The gallery wall should feel connected to the rest of the room, not floating on its own.
Gallery Wall Ideas for Every Living Room Size
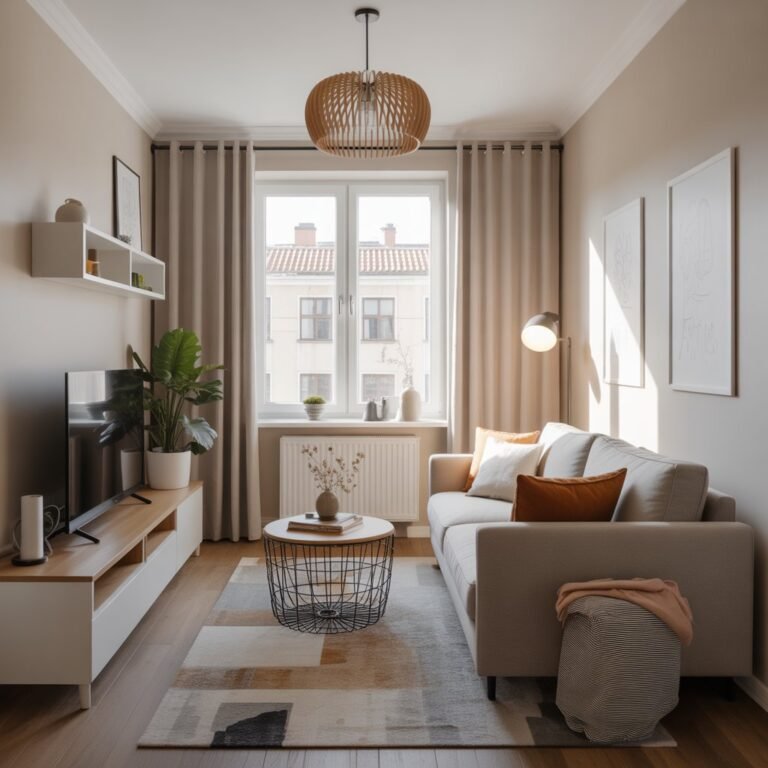
Small living room gallery wall: Keep frames smaller — think 4×6 and 5×7 — and stick to a tight grid or single horizontal row. Limit the wall space used. A small, well-curated display has more impact in a small room than an overwhelming spread.
Large living room gallery wall: Go big. A salon-style floor-to-ceiling arrangement is stunning on a large wall. Use anchor pieces — one or two large frames (16×20 or bigger) — and fill in around them with smaller pieces.
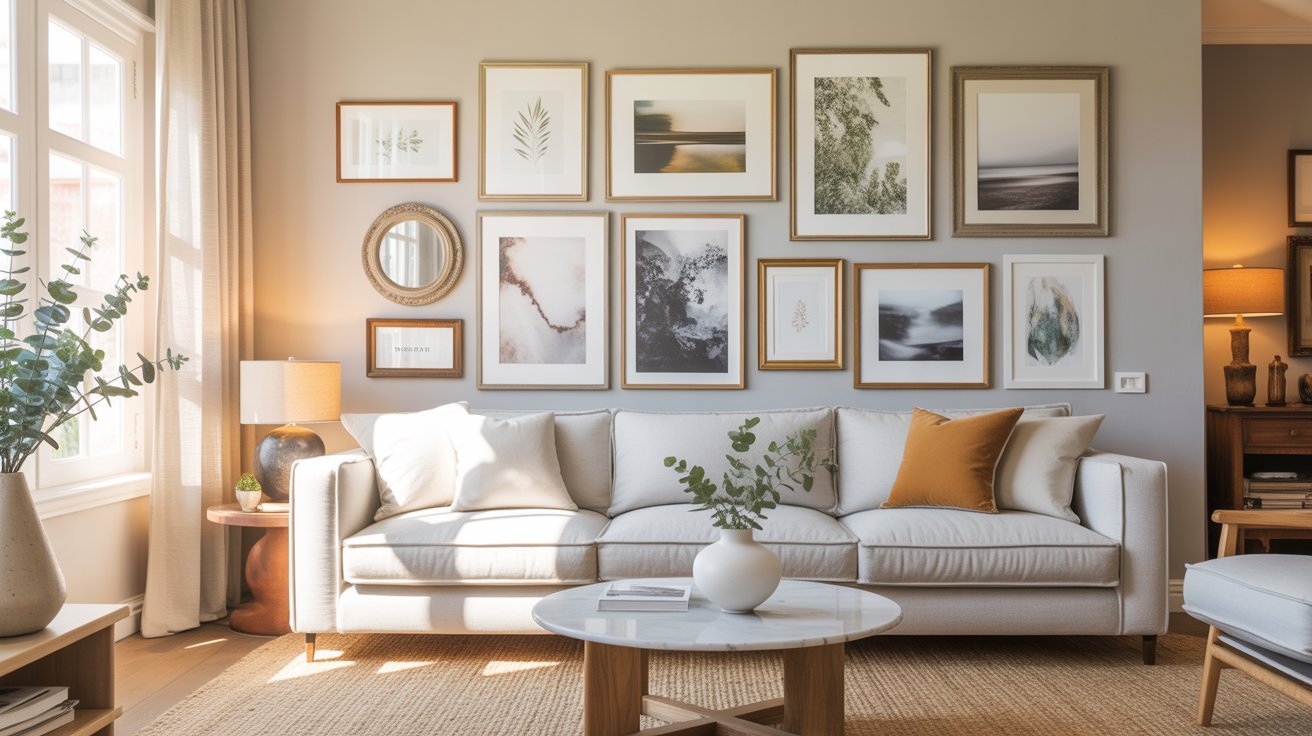
Gallery wall above the couch: This is the most popular living room placement. Keep the bottom of the lowest frame about 8 to 10 inches above the sofa back. The total arrangement should not be wider than the sofa itself.
Corner gallery wall: Wrapping a gallery wall around a corner is unexpected and impressive. Use lighter, smaller frames near the corner itself and let the arrangement grow outward on each side.
Gallery Wall on a Budget
You absolutely do not need to spend a lot of money to create a beautiful gallery wall living room display.
Thrift stores and estate sales regularly have interesting frames for under two dollars each. Paint them the same color — crisp white, matte black, or antique gold — and they instantly look intentional.
Print your own art. Sites like Unsplash, Canva, and Pexels offer beautiful high-resolution images completely free. Download, resize, and print at your local pharmacy or print shop for just a few dollars per print.
IKEA’s RIBBA and HOVSTA frames are consistently affordable, come in multiple sizes, and have a clean, modern look that works in almost any style of gallery wall.
Mix frame sizes intentionally. A single large frame with three small frames clustered beside it looks designer — and costs far less than buying multiple large pieces.
Common Gallery Wall Mistakes to Avoid
Hanging everything too high is the single most common mistake. Eye level is the rule — the center of your arrangement should sit at about 57 to 60 inches from the floor, which is standard gallery hanging height.
Using only one frame size makes the wall look flat and boring. Vary your frame sizes to create visual rhythm and depth.
Ignoring the room’s existing color palette leads to a gallery wall that looks disconnected. Always pull colors from the furniture and textiles already in your living room.
Skipping the floor planning step leads to uneven, regret-filled holes in your wall. Always plan on the floor first.
Hanging frames too far apart kills the gallery effect. Keep spacing between frames to 2 to 3 inches maximum. Tighter spacing makes the arrangement feel intentional and connected.
Final Thoughts:
A gallery wall living room transformation does not happen overnight — and it should not. The most beautiful gallery walls are built slowly, with pieces collected over time that each mean something. Start with what you have. Add a thrifted frame here, a printed photo there. Let it grow.

The blank wall that used to stress you out will become the thing guests comment on first when they walk through your door.
Start with one frame today. The rest will follow.